A slab impressed against bark, then twisted into the shape of a tree trunk.
Stoneware, black clay, fired to cone 6, in oxidation.
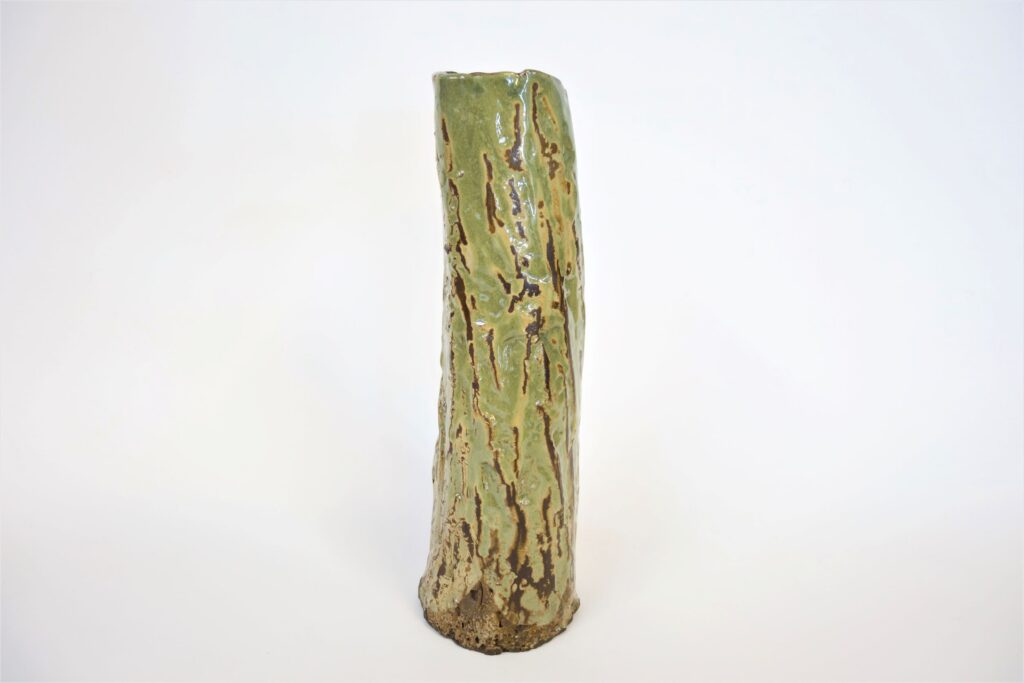
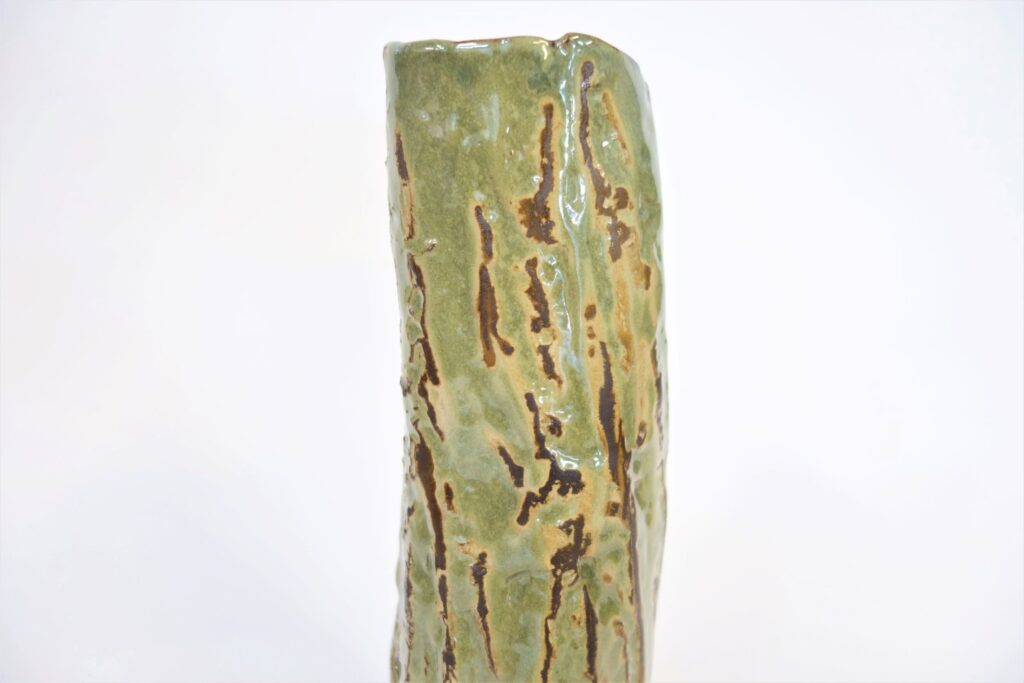
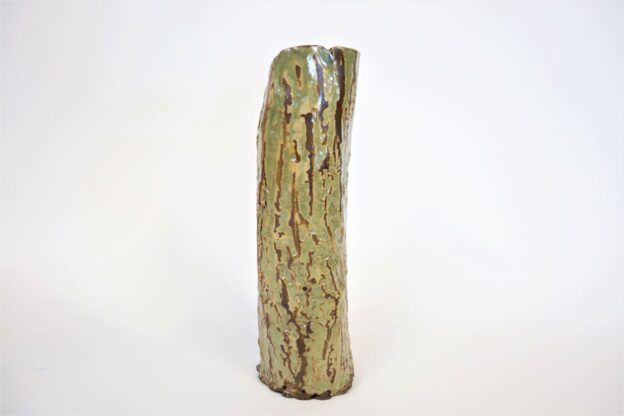
A slab impressed against bark, then twisted into the shape of a tree trunk.
Stoneware, black clay, fired to cone 6, in oxidation.


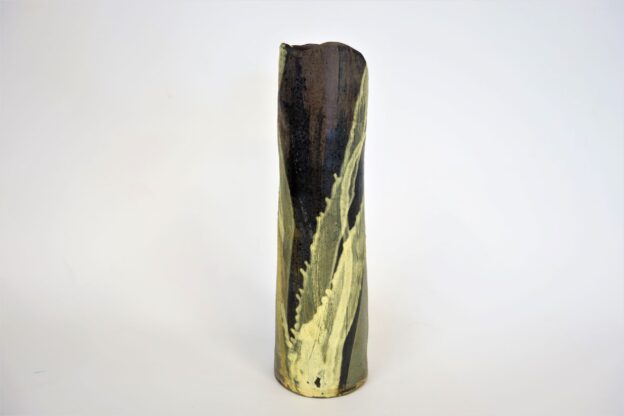
Slab-built, with a dark black clay, finished on the wheel; the rim cut away to firm waves.
To provide a variety of dark black tones, darker than the grey that the black clay would become once fired, I dipped a small, rough sponge in black underglaze, and swept it up the length of the vase, several times. I wanted to create a sense of moving waters, and swirling vegetation in the depths. The first step was pouring a thin layer of a matte, olive-grey glaze, from the top, and down, holding the cylinder at a sharp angle. This glaze, when applied thin over the dark surface, turns ashen, a lovely surface over which to squirt streams of yellow slip, tinged with rutile, sunlight reflecting off the swirling kelp. A few quick strokes of black, high-grit glaze applied with a hard-bristled brush, further break up the surface.
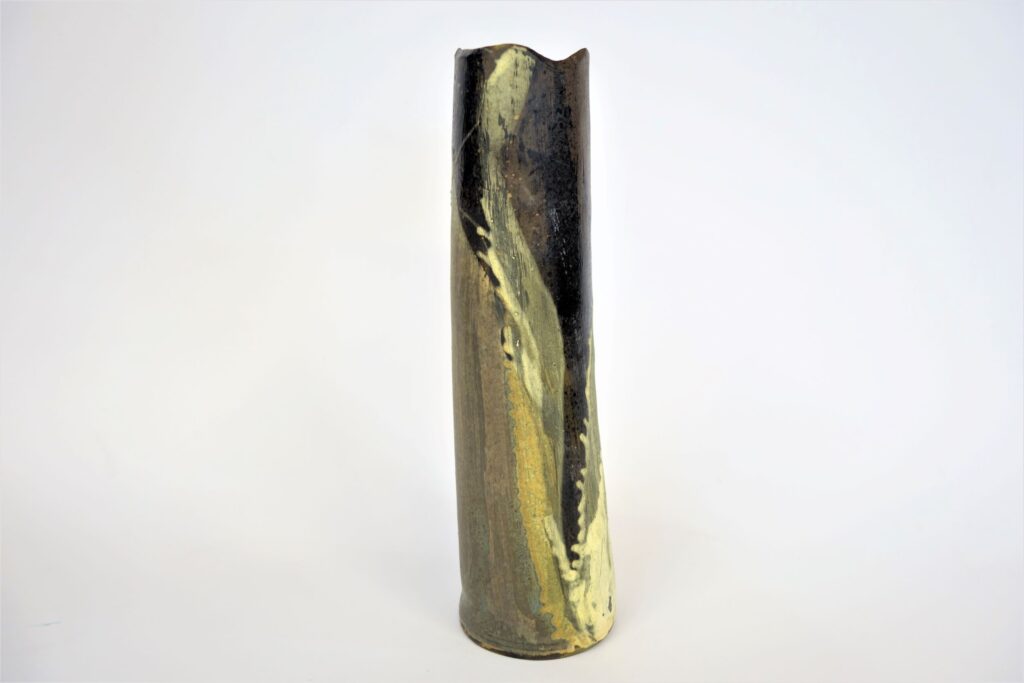
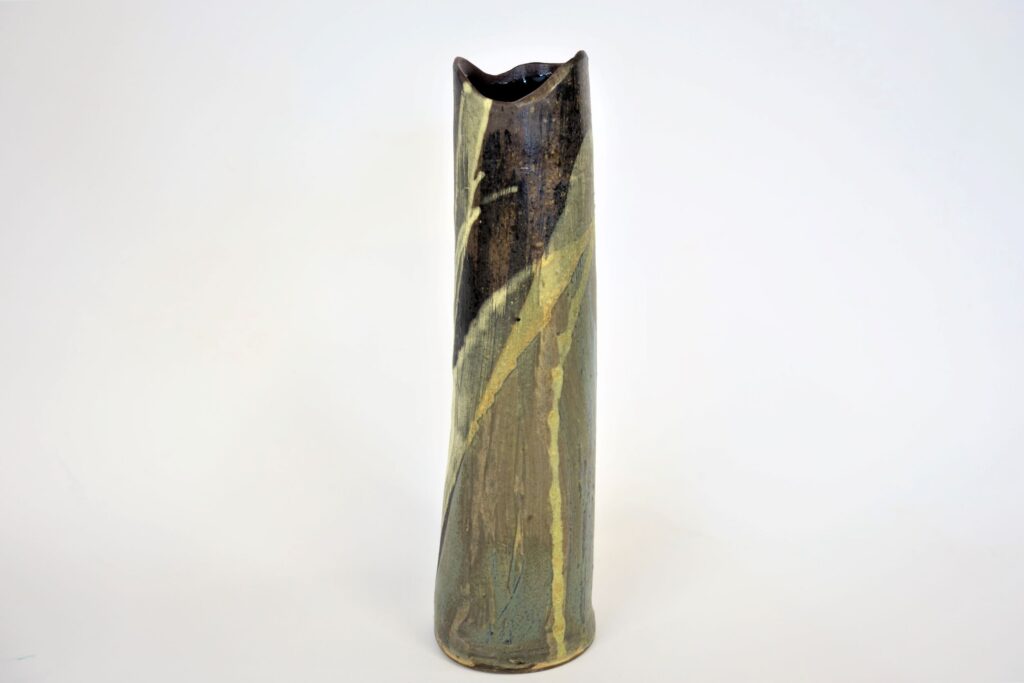
Stoneware, fired to cone 6, in oxidation.
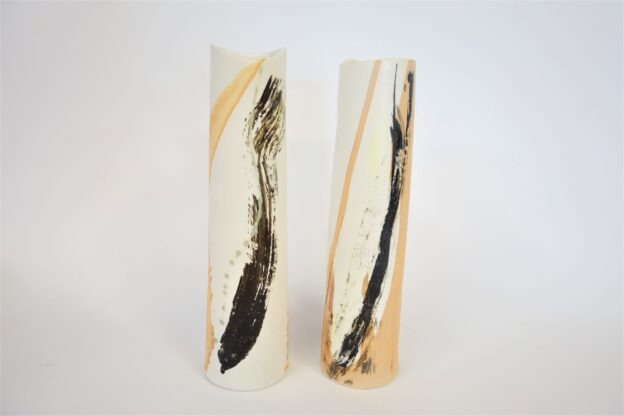
So many possibilities, as I plan my cylinders. Shall I use porcelain, or black clay? Shall I create a highly-textured surface? Shall I forcefully distort the surface? Shall I use slips? Squirt the slips, adding grit, frit, sand, rust? Shall I throw the slip on, pour it on, blow it on? Make it so thick that it cracks in the firing? When, while the slip is still damp? Or wait till tomorrow? Slab built, then finished on the wheel.
For the pieces shown below, I shaped them using slabs of white clay, keeping the neck wide enough for my hand to reach down inside, allowing me to finish them off on the wheel. Did I use porcelain? No. But to enhance its whiteness, I coated the leather-hard piece in a porcelaneous slip (Frost). Did I create a highly-textured surface? No. But using a hard-bristle, broad paint brush, I roughed the surface by adding heavy grit to the dark glaze. Once bisque fired, I applied a few quick free-hand squirts of a yellow/orange slip. Finally, using an atomiser, I applied a fine layer of a glossy, transparent glaze over the remaining white surfaces.
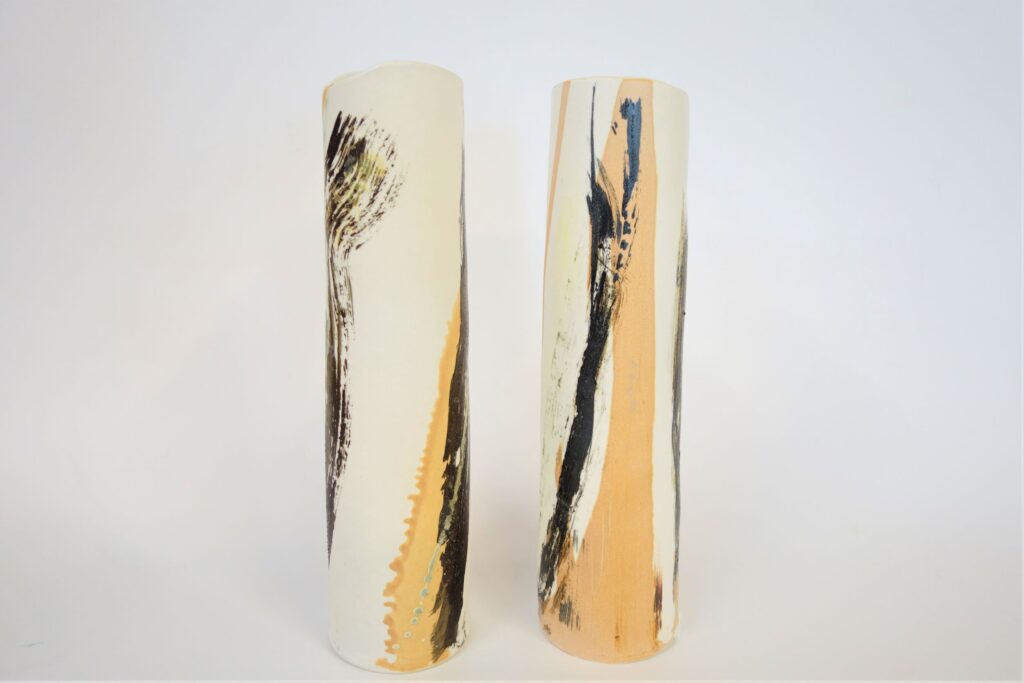

Stoneware, fired to cone 6, in oxidation. Height: 31 cm; Dia. at base: 8.5 cm.
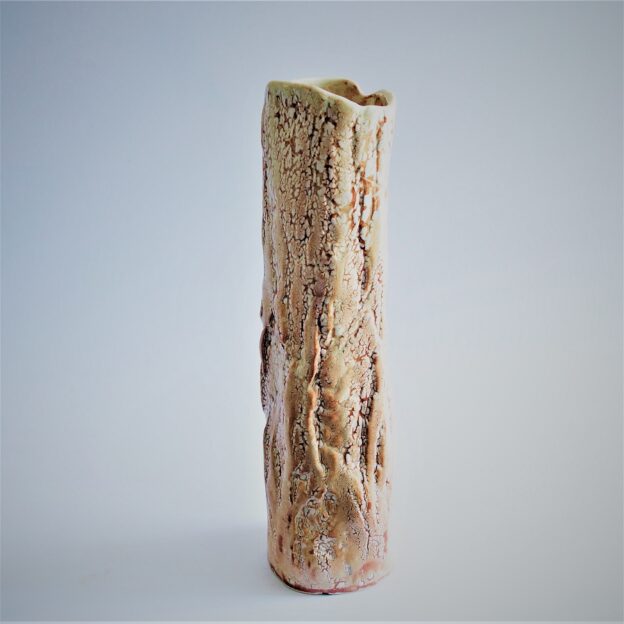
Some of us at ClayWorks have been experimenting with Falls Creek Shino, which works quite nicely in oxidation to cone 6 (depending of course on application thickness, specific gravity, clay used, and all the other parameters that come into play). Initial tests were promising, so I used it on this piece. The result was good, but I hadn’t really thought about this shino actually giving quite a glossy finish, something I didn’t want for these pieces. I hid it away for a while, and wondered.
What about pouring another, more matte glaze over the entire piece, and hope the cylinder survives a second glaze firing? Given the ruggedness of the vessel, I wondered whether a crawl would do the trick.
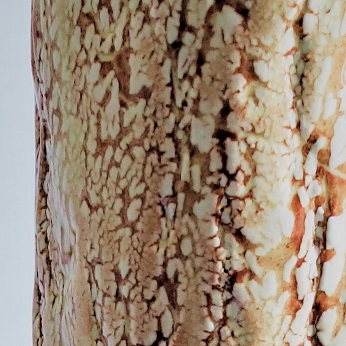
Whether it still looks like bark, I don’t know. But the satin white glaze has broken up beautifully as it slipped into the crevasses of this shino-glazed cylinder.
Hand-built, stoneware slab, moulded against bark.
Fired to Cone 6, in oxidation.
Ht: 31 cm; dia. at base: 8 cm
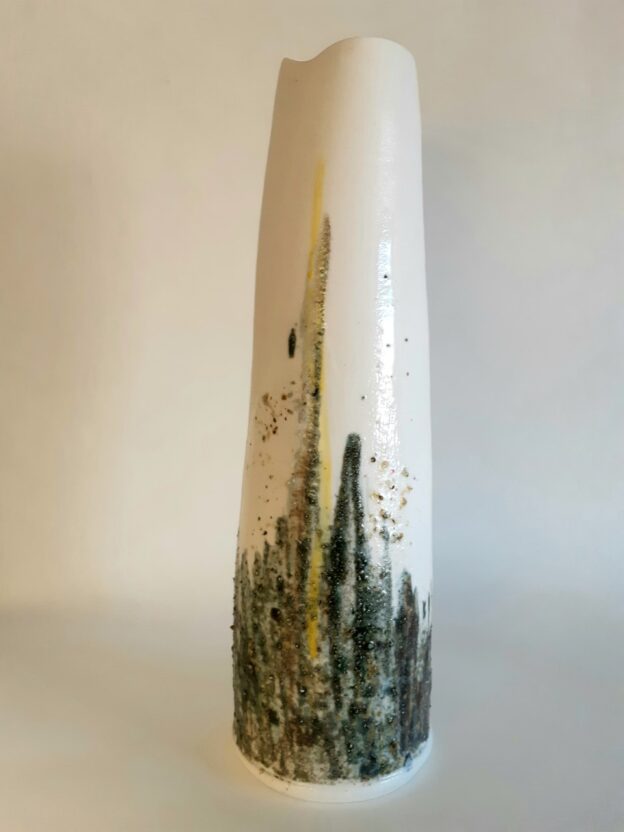
You may think it surprising to see this tree trunk here; after all, it is a hand-thrown cylinder, like the Ghost Gums I made last year. More recently I have been making my barks from my hand-pressed moulds (see Tree trunk, black).
I really liked the grit that I’d pressed into the clay here and there, and I’d thought light touches of colour might complement it nicely. But it needed more work. I left the cylinder to wait for a more inspired moment. It waited quite some time.
The other day I decided enough was enough. I took a matte, black glaze that I knew well. and thought I’d add some local grit. Knowing from previous tests that the grit from around our studio fired nicely, I took a handful and added it to my pot of glaze. Then took my paintbrush and applied it to the base of my old cyclinder.
Being a second firing, this glaze’s colour fired to a very different colour from its usual matte black, giving me much lighter greyish tones. The parking lot grit adhered nicely.
Stoneware, fired in oxidation to cone 6. Height 12″; dia at base 3.7″
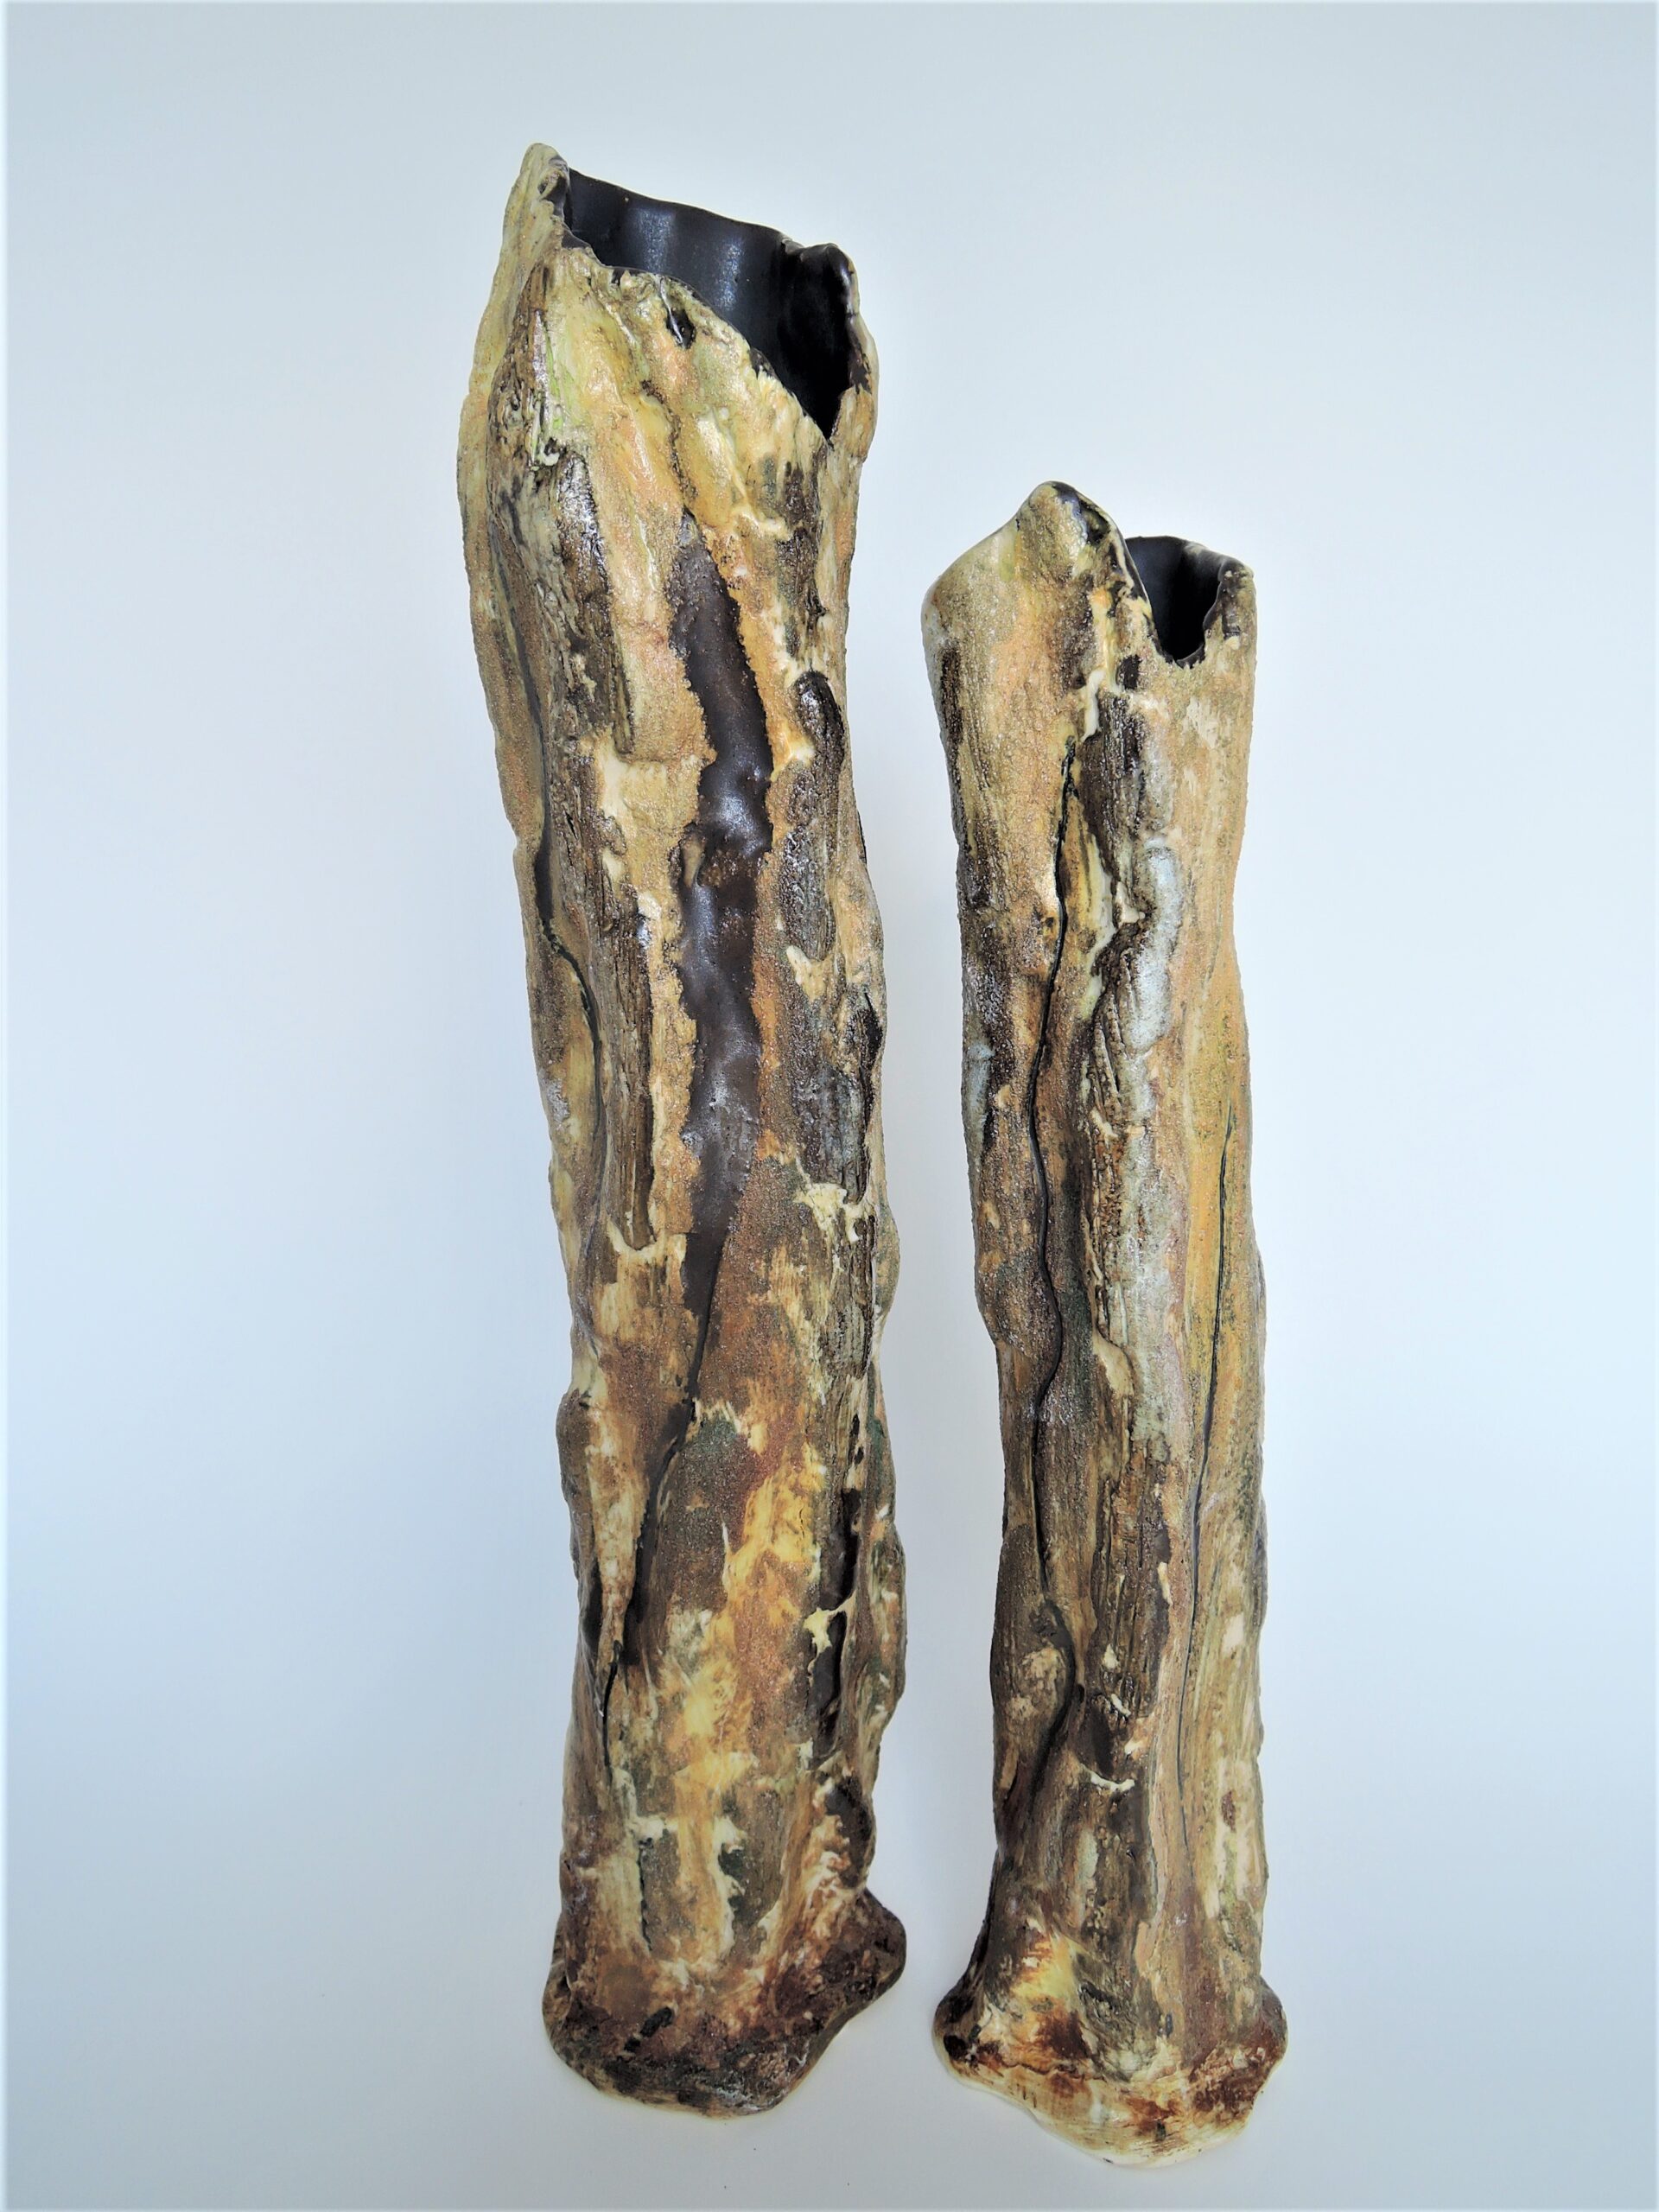
My tree trunks are becoming more varied. Since my earlier blog post Ghost Gums, which were thrown on the wheel, I have more recently been using slabs of clay, impressed on trees, as moulds. I explained the process in my post Tree Trunk, black.
I press, and tear, and force the seams together, and they don’t seem to mind. I used quite a variety of underglazes here, adding sand to the mix, aiming to create an unexpected, slightly rough, bark-like effect.
These two seem to belong together, the one nestling in the lee of the other.
Stoneware. Fired in oxidation, to Cone 6. 1. Ht: 13″, dia: 2.5″; 2. Ht: 11″, dia: 2″
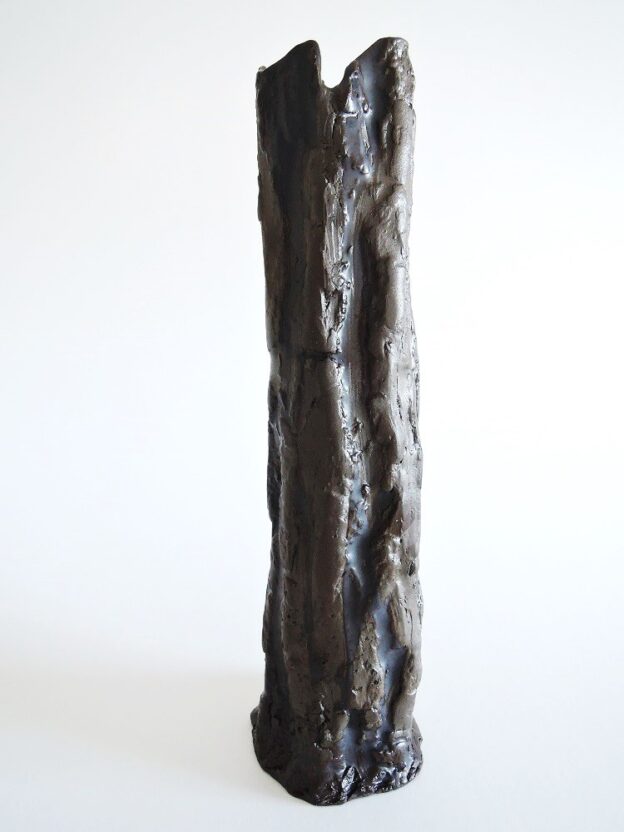
Stoneware; black clay: ht. 30 cm
Fired in oxidation to Cone 6
Here’s the latest in my series on tree trunks. They’ve been changing, radically, over time. The early ones, based on the Ghost Gums I saw in Sydney, were two thrown cylinders, attached, and made with a very white porcelaneous stoneware. Most of the cylinder remained almost pure white, with only the base dark, coated in a high grit, matte, dark glaze. In Cape Town, the variety of trees in the downtown Company Gardens was so astonishing, so huge, that to reflect their variety, I turned to underglazes, which I saw potters using while I was there.
Then at home during the summer, and with the studio closed due to Covid 19, I worked on my balcony rolling out slabs of clay, which I’d take on my walks, and press them against trees, for texture. I then tried to force the slabs into cylinders. I soon realized that to improve them, I really needed a positive impression of the bark. Therefore, when Gladstone Clayworks re-opened, I began bisquing some of these bark impressions, and continuing from there.
This piece came out of the kiln yesterday. I had dipped the entire piece into a matt black glaze, and then sponged most of the glaze off the raised areas. The result provides two tones, enhancing the rough texture of the vessel.

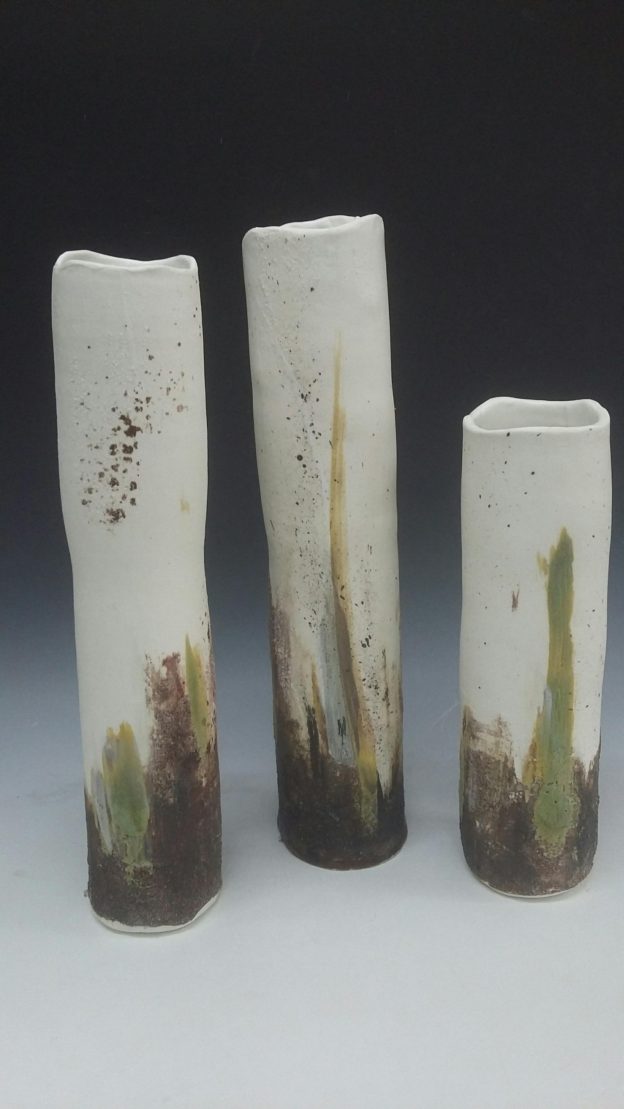
Porcelaneous stoneware. Fired to Cone 6, in oxidation. Dimensions
Height:: 33 cm, 33 cm, and 25 cm.
Made during the month I spent at TAFE Northern Beaches (Sydney) – Open Studio – Ceramics.
I must have spent a long time gazing at the ghost gum trees I came across while walking in in the bush along the Sydney coastline, Other trees too, like the strangler figs, were equally stunning, but the ghost gums took my breath away, with their dark, decaying bark peeling away to reveal the naked smooth-white trunk reaching upwards towards the sky: fire and ash, decay, strength, and regrowth.
Nothing came of the project I had initially put forward to Christopher James (who runs the ceramics school there) as justification for being accepted into the Open Studio. But a series of these tree trunk vases/cylinders came out instead, which made me happy.
Two cylinders, thrown; the lower part of the base then coated with a mix of slips, oxides, grit and earth from my walks, to provide texture for the breaking, peeling bark. With the cylinders still damp, I then attached the second cylinder to the first, working on the wheel to fuse them seamlessly together. I added more slips and stains further up the cylinder. Once bisqued, I sprayed a fine layer of clear glaze to the surface, and fired the cylinders to cone 6, in oxidation.
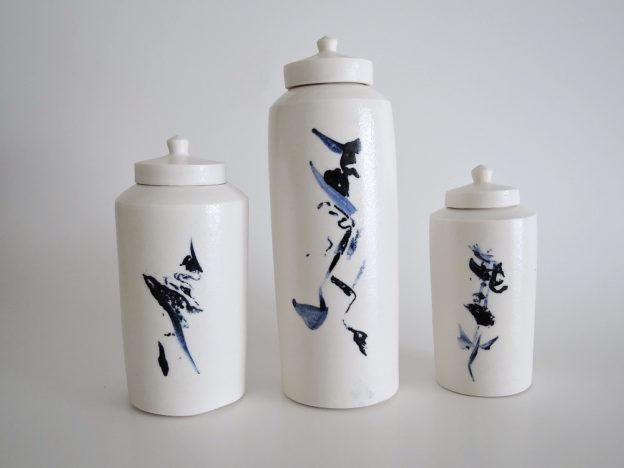
This is a return for me to work started in Brussels two years ago, using the striking, age-old combination of cobalt oxide on pure white clay. Perhaps influenced by the 17C Delft tiles and the Portuguese azulejos I am familiar with, I have tried to use the same colours to create a light, modern, impressionistic design.
The first challenge was to throw the cylinders as thinly as I could, as the effect of the design is lost if the piece, once finished, feels heavy in the hand. The second challenge was to design appropriate thrown lids that fit well. In this second set of jars, I made the cylinders narrower, improving the relationship between their height and width. Also, I realized the lines here must be straight, and that the top diameter of the cylinder must be the same, or smaller, than that of the base. Finally, the clay surface must be as smooth as possible, with all distracting trimming lines removed.
Once bisque fired, I carefully apply seemingly haphazard smudges to the bisque-fired surface, while making sure no fingerprints inadvertently stain the white surface Then I complete the design by painting the final lines using varying intensities of the diluted cobalt wash. I then quickly pour a transparent glaze over the inside surface, and out again. Finally, I lightly spray the outside using an atomiser. I keep the glaze quite thick, to get a slightly pebbled texture to the outer surface.
Dimensions:
ht 19 cm, dia 6.5 cm;
ht 14 cm, dia 6 cm;
ht 12 cm, dia 5 cm
Clay: Frost, cone 6 porcelain fired to cone 6, in oxidation.
Cobalt oxide (with Gerstley borate) applied to bisqueware, front and back.
Reverse view, below:
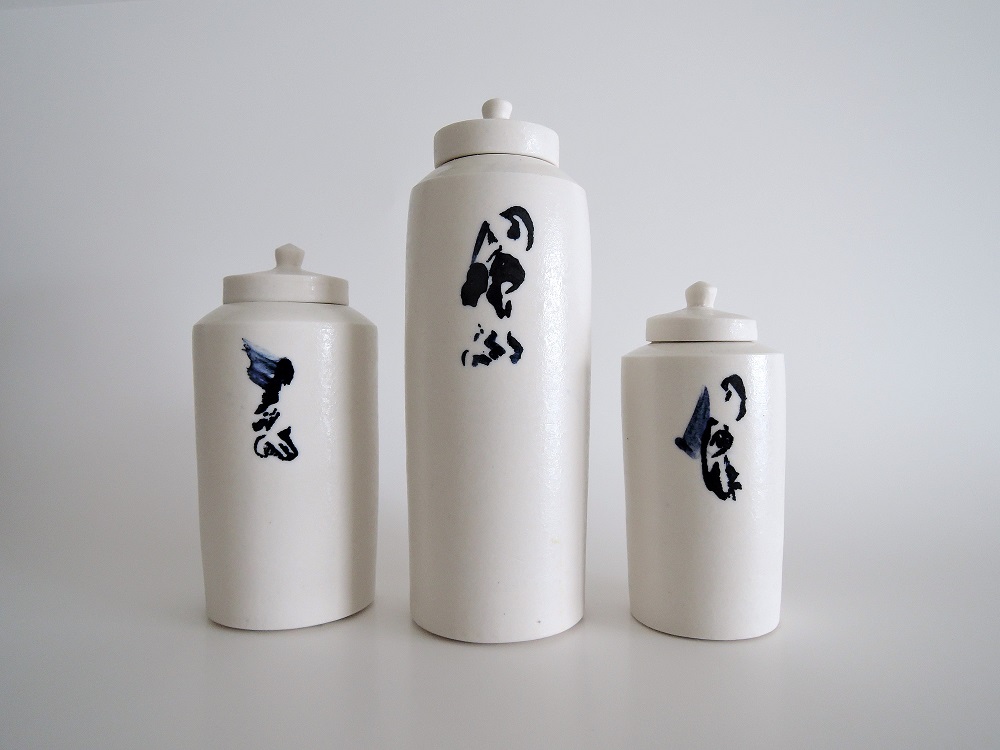
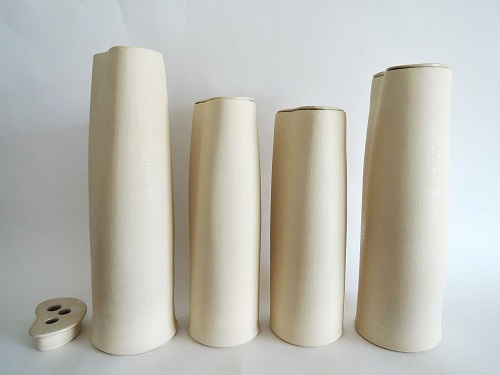
The Ottawa Guild of Potters’ Populace sculpture garden at the Canadian Museum of Nature, Ottawa (celebrating Canada’s 150th year) has now been taken down, and the roses, fleur de lis and feathers have been on show at the Dust Evans Gallery, Shenkman Centre. A number of us made vases used to display the sculptures. Below: these are my contribution to the continuing Populace story. A light dusting of glaze gives the surface a pebbled effect.
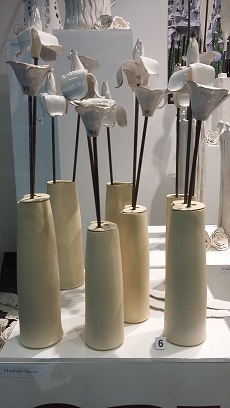
Featured image:
Stoneware, thrown. Ht: 10.6, 9.1, 8.7, and 10 inches. Base dia: 3.3
Optional perforated lids nestle inside the distorted rim
Below:
Stoneware, thrown. Ht: 10.8, 10.4, 9.2; dia at base: 3.5 inches